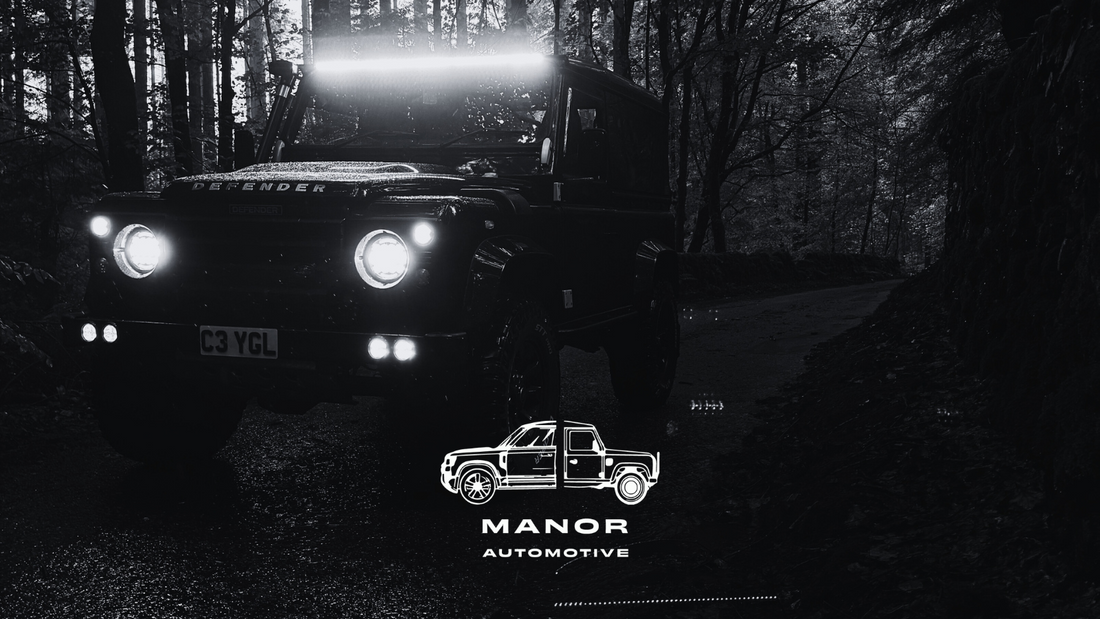
Installing a Night Hawk LED Light Bar on your classic Land Rover Defender is a great way to enhance visibility for off-road adventures and nighttime driving. The process is straightforward, but it does require some basic tools and attention to detail. Here’s the Manor step-by-step guide to help you install this powerful light bar on your Defender.
Tools and Materials You’ll Need:
- 50" or 54" Night Hawk LED Light Bar Kit (including brackets, wiring harness, and stainless fixings)
- Drill
- Socket set and spanners
- Allen Keys
- Screwdrivers
- Wire crimping and cutting tools
- Electrical test light
- Electrical tape shrink tube and zip ties

Step 1: Positioning the Light Bar
Start by determining the ideal mounting location for your LED light bar. Fit the billet fitting kit to the light bar The Night Hawk kit includes adjustable brackets that allow for a variety of positions, so you can choose a spot that suits your style and provides optimal lighting.
Step 2: Mounting the Light Bar
Ensure that the brackets are level and securely fastened using the included bolts. Double-check that the brackets are stable and can support the weight of the light bar before proceeding.
Step 3: Installing the Light Bar
Carefully place the light bar in the roof gutter channel you may need a couple of pairs of hands for this. Once happy with the location using a small spike tool mark down each hole of the brackets, 2 holes either side for M5 stainless button head bolts (this will be your guide for drilling so ensure you are happy with the position. Once you have drilled the holes put your light bar back in to position, Make sure to tighten the bolts evenly, avoiding any excessive strain on one side of the bar. Adjust the angle of the light bar to ensure it’s directed where you need it most—typically forward and slightly down for best coverage.


Step 4: Wiring the Light Bar
The Night Hawk LED light bar comes with a complete wiring harness, making the wiring process simpler. We normally drill a small hole behind the drivers side bracket and run the wiring through there, we then run it into the cab under the drivers door seal, (this avoids drilling any large holes directly into the roof) if you pull the door seal down you should see a small gap in the door frame to pass the wire through. We would recommend using shrink tubing to protect the wiring from any wear and tear that may occur. You should then remove the plastic trim which is on the windscreen frame (2 Phillips screws) and tidily run the cable down there and behind the dash.
Next, connect the positive and negative leads to the vehicle’s battery. The wiring harness includes a relay and fuse for protection. Attach the relay to a solid mounting point in the battery box and connect the wires according to the instructions. (previously we have managed to find a live fuse spare in the fuse box under the drivers seat to avoid running the cable to the other side of the cab)
For the switch inside the cabin, run the cable into the dashboard area. Install the switch in a convenient location on your dashboard or center console.
Step 5: Testing and Adjustments
Once everything is connected, test the light bar. Turn on the switch and check if the light bar illuminates as expected. If it doesn’t work, double-check all connections, fuses, and the wiring harness. Once the light bar is functioning correctly, make any final adjustments to the angle and ensure all mounting bolts are secure.
Step 6: Final Touches
Tidy up the wiring using zip ties and electrical tape to keep everything neat and out of the way. Ensure that the light bar’s wiring is safe from potential rubbing, heat, or sharp edges.
Anti whistle kit. If you’re concerned that your light bar will give you any whistling or road noise don’t be as we provide and anti whistle kit which installs onto the rear of the light bar this prevents any road noise at all.
Credit: https://www.instagram.com/caygill.x/
Conclusion
Installing the Night Hawk 54" LED Light Bar on your classic Defender is a rewarding upgrade that adds both style and functionality. With enhanced visibility for off-road driving, your Defender will be ready to tackle any terrain, day or night. Enjoy the improved lighting and the sleek, modern look it brings to your classic Land Rover Defender!
Credit: https://www.instagram.com/caygill.x/

